
From the factory, the Sprinter only has speakers in the front cab area. Once you have removed your partition, and opened up the entire van, most will find the stock locations do not provide an ideal listening experience. One way to complete your sound system is to add speakers to the rear area of the van. This will produce better sound when you are in the rear of the van, and based on your placement, could enhance the sound on the outside of your van when you are parked or tailgating.
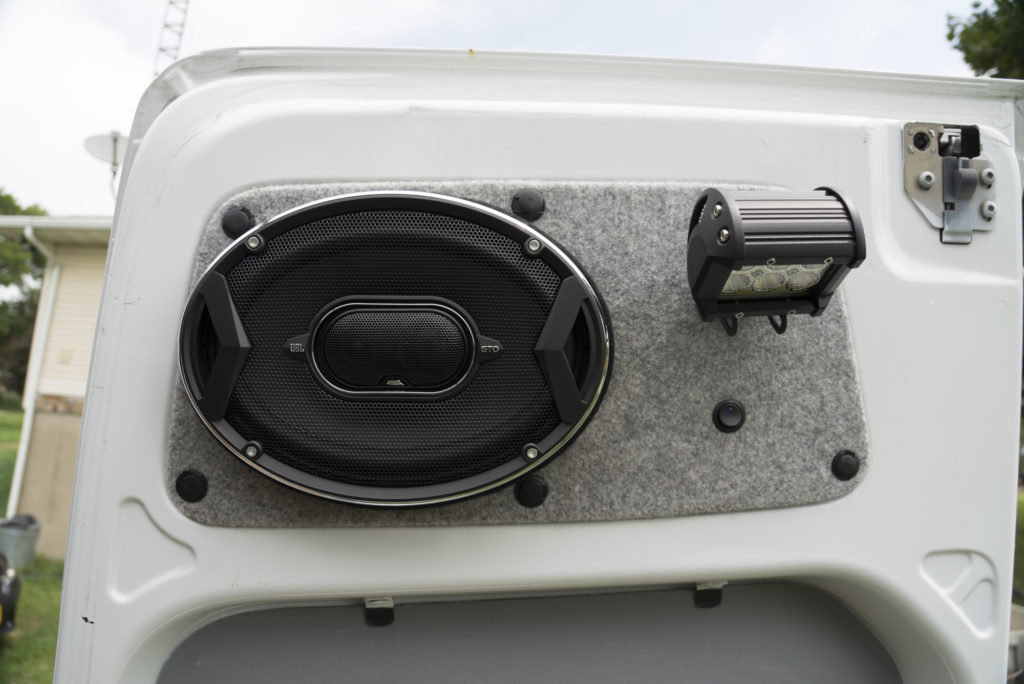
We opted to add 6×9″ 3-way speakers in the upper cavity of the rear door. This location would complete the soundstage with speakers in all four corners of the vehicle, and allow us to open the rear doors and direct the sound outside of the van. By building our own custom replacement panel, we were also able to add rear utility lights next to the new speakers.
The speakers we chose were from JBL in their GTO line. These speakers have premium carbon injected cones, which are larger then most in their class and offer increased air movement resulting in more bass. We figured these would be a great starting point, and depending on their performance, could reduce the need for a subwoofer.
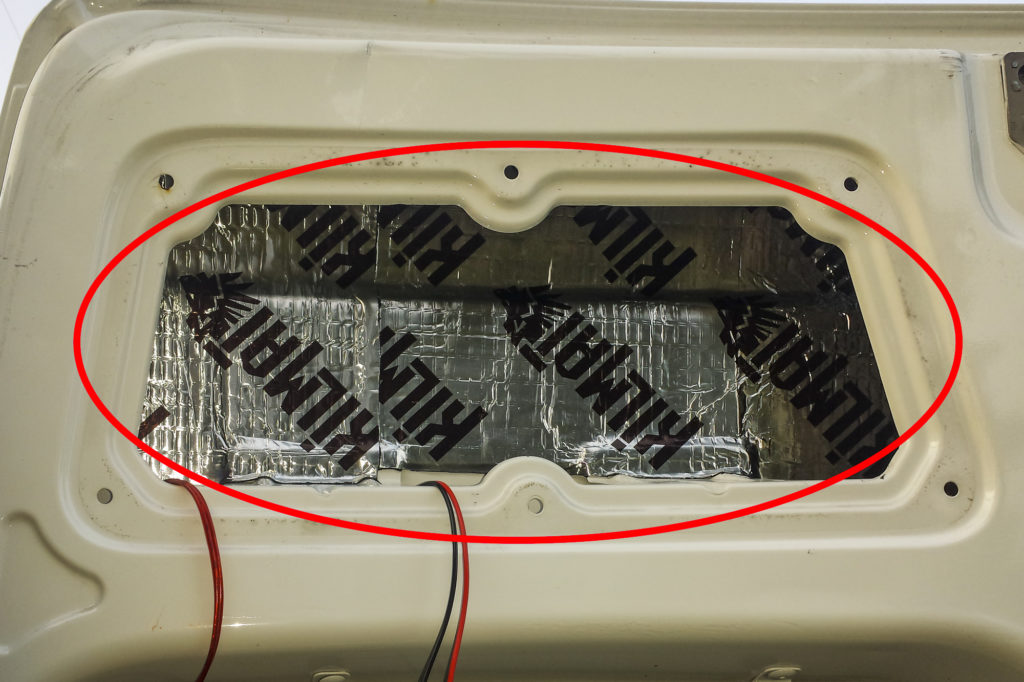
We also recommend that while you are working on the upper cavities of the door, this is a good time to add sound deadener and insulation to finish this section completely.
Continue below for the step by step installation process.
Column 6
-
 JBL GTO939 6×9 Inch Speakers$99.94
 -
 Kilmat 80 Mil Sound Deadening Mat$55.99
 -
 14 AWG 100ft Speaker Wire$15.99
 -
 18W 4 Inch Flood Light 2 Pack$12.99
 -
 6×9 Inch Black MDF Ring$10.30
 -
 Insulated Wire Connectors$9.29
 -
 Audio Crimp Terminals$8.99
 -
 SPST Rocker Switch LED ON/OFF 10 Pack$7.99
 -
 Nylon Bumper Fastener Rivet Clips Auto Body Clips$7.89
 -
 Speaker Cabinet Carpet Medium Gray Yard 54″ Wide$598.00
Column 6
-
 Porter Cable Cordless Jigsaw$59.99
 -
 Porter Cable Drill & Driver$119.99
 -
 Sound Deadener Roller$6.39
Products Used
-
JBL GTO939 6×9 Inch Speakers$99.94
-
Kilmat 80 Mil Sound Deadening Mat$55.99
-
14 AWG 100ft Speaker Wire$15.99
-
18W 4 Inch Flood Light 2 Pack$12.99
-
6×9 Inch Black MDF Ring$10.30
-
Insulated Wire Connectors$9.29
-
Audio Crimp Terminals$8.99
-
SPST Rocker Switch LED ON/OFF 10 Pack$7.99
-
Nylon Bumper Fastener Rivet Clips Auto Body Clips$7.89
-
Speaker Cabinet Carpet Medium Gray Yard 54″ Wide$598.00
Tools Required
-
Porter Cable Cordless Jigsaw$59.99
-
Porter Cable Drill & Driver$119.99
-
Sound Deadener Roller$6.39
Installing The New Speakers
Step 1
The most important part of adding speakers to the rear of your Sprinter Van, is deciding to do so early in the build.
Since Sprinters do not contain any rear speakers, you will need to run new speaker wires from the receiver or amplifier back to the new speakers.
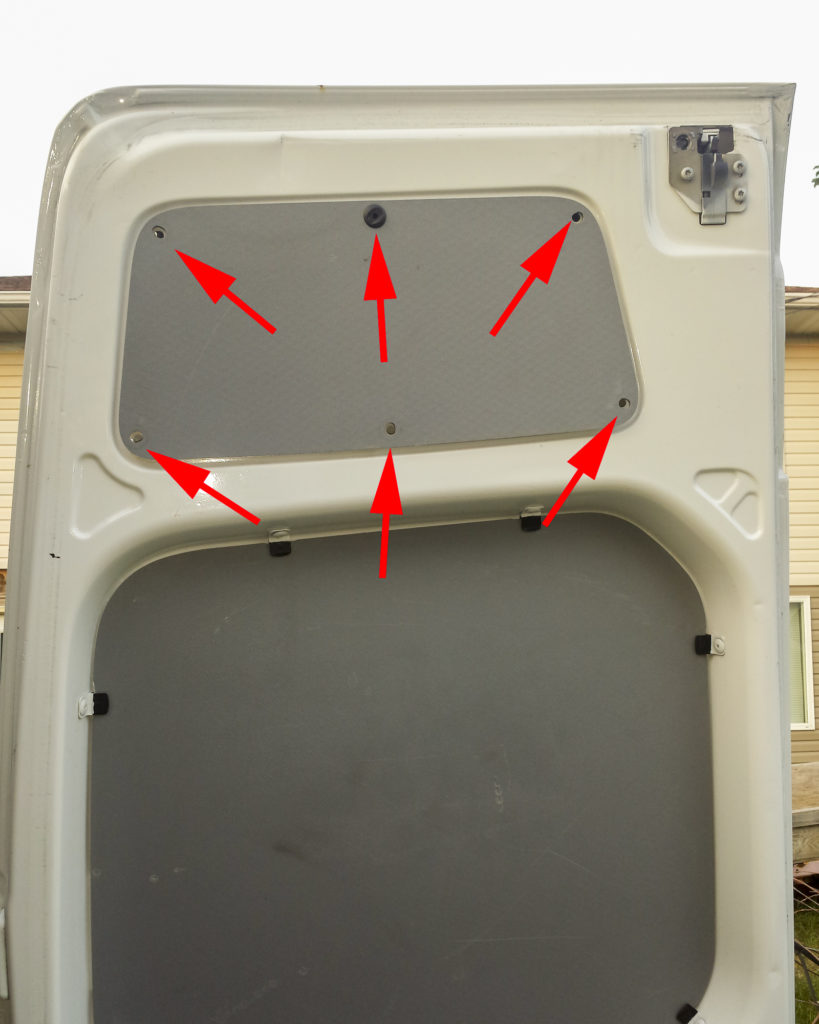
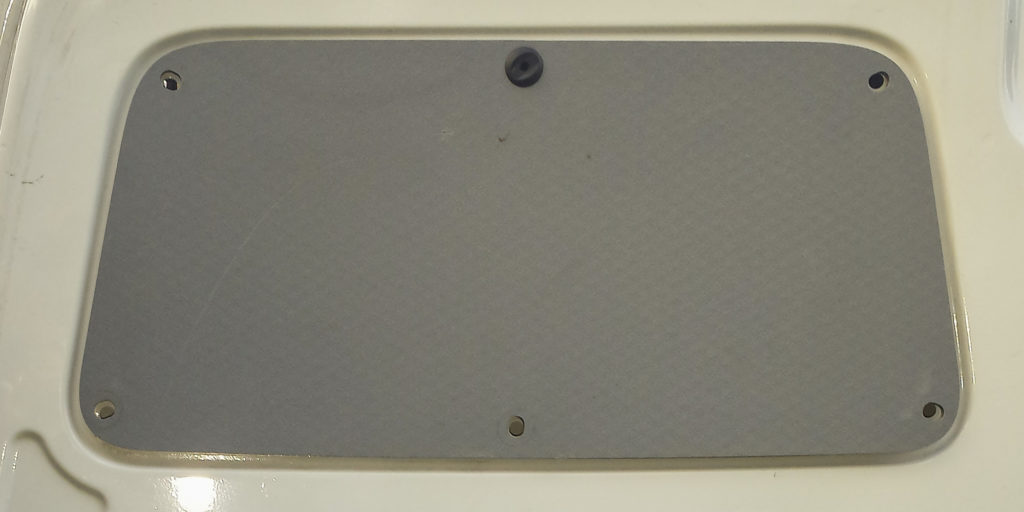
Step 2
In order to route the new wiring, you will need to remove the existing corrugated panels. There are 6 nylon rivets that can be removed with a trim removal tool or screwdriver.
Step 3
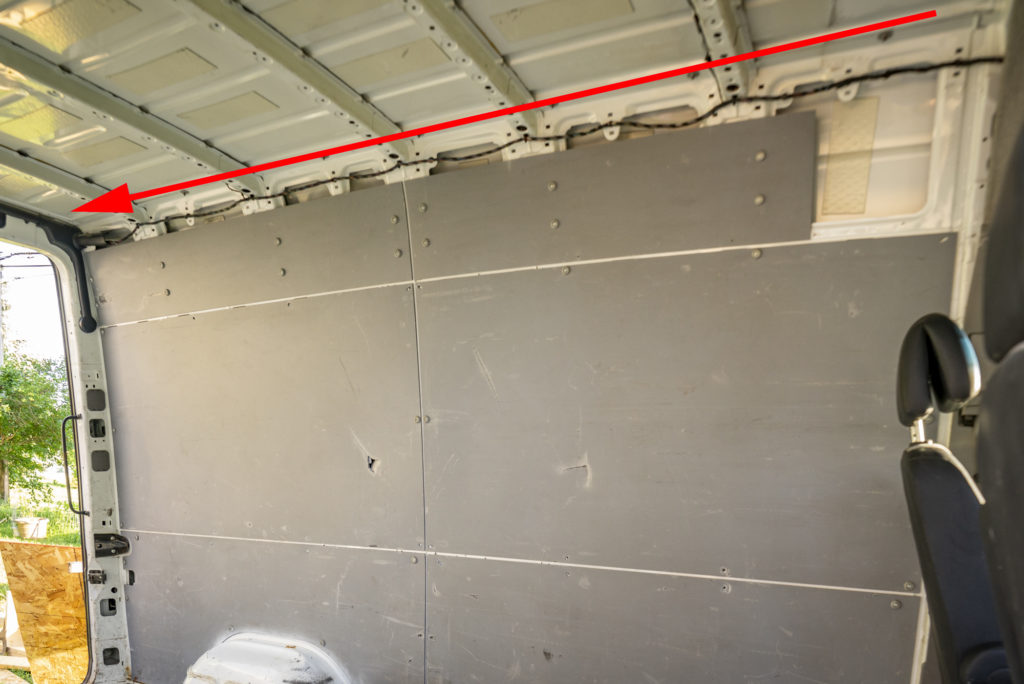
In routing the new wiring, we routed through the dash, up the A pillar, and bundled with the existing wire harness to the rear of the van. Here we joined up with power wires as well to supply the utility lighting in the rear doors as well.
Once we reached the back of the van, we used the hollow cavity surrounding the rear doors to conceal the wiring. We then fished the wire through the existing wire loom to the door, and up to the install location.
Step 4
Determine your speaker placement, and be sure to take into account the depth and opening so the speaker fits correctly.
The speakers we chose were deeper then the void in the door, so we used a MDF speaker ring for more clearance.
Step 5
Use the corrugated panels removed earlier to trace a template of the panel on your replacement material, in our case we used 1/4″ hardboard panel.
Step 6
Drill the mounting holes as marked from the template, and cut out the openings for the speakers.
Dry fit your rough panels to ensure all mounting holes line up, and insert your speakers to ensure there is proper clearance before finishing the panels.
Step 7
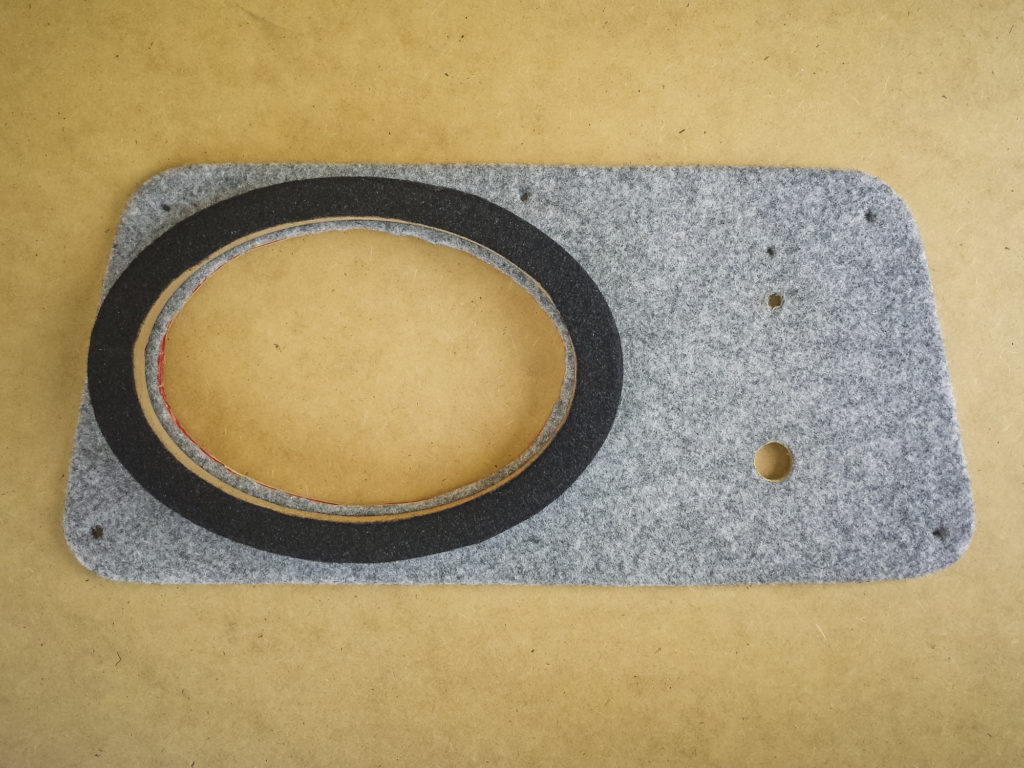
Once you have all your holes drilled and cut for the speaker and lighting, and ensured that the placements are correct, it’s time to finish your panels.
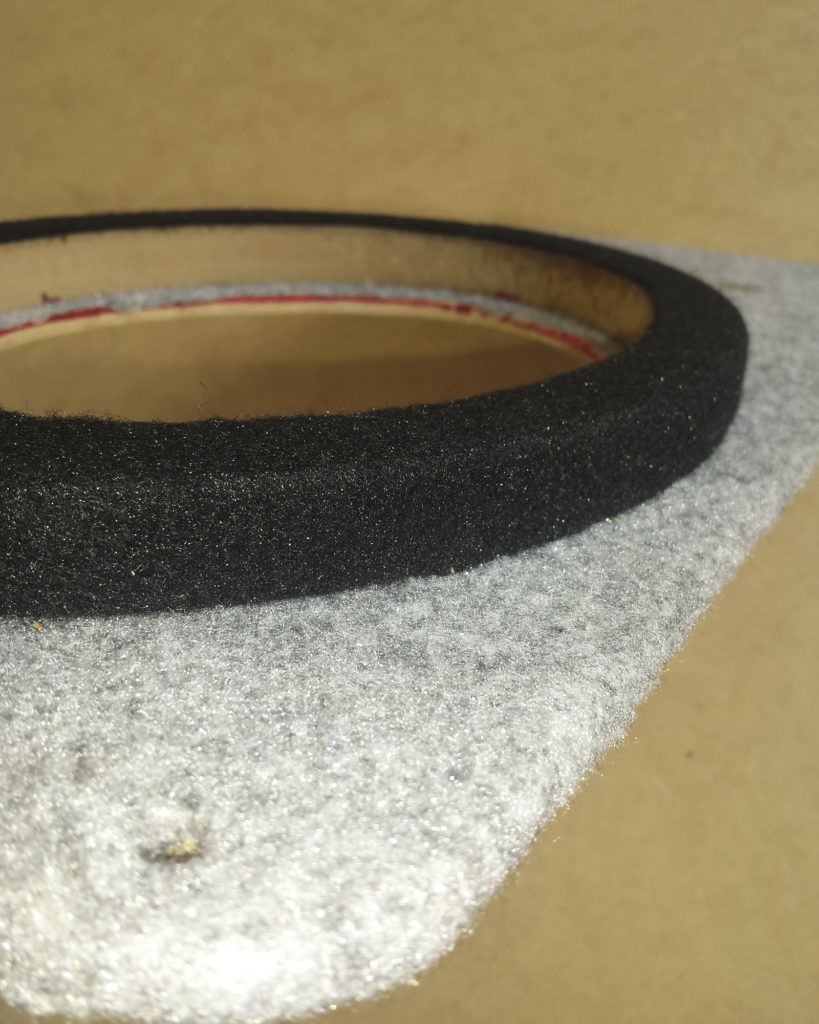
We used the same material as was used on the headliner to finish our panels, and used concealed screws from the back side of the panel to attach the speaker rings.
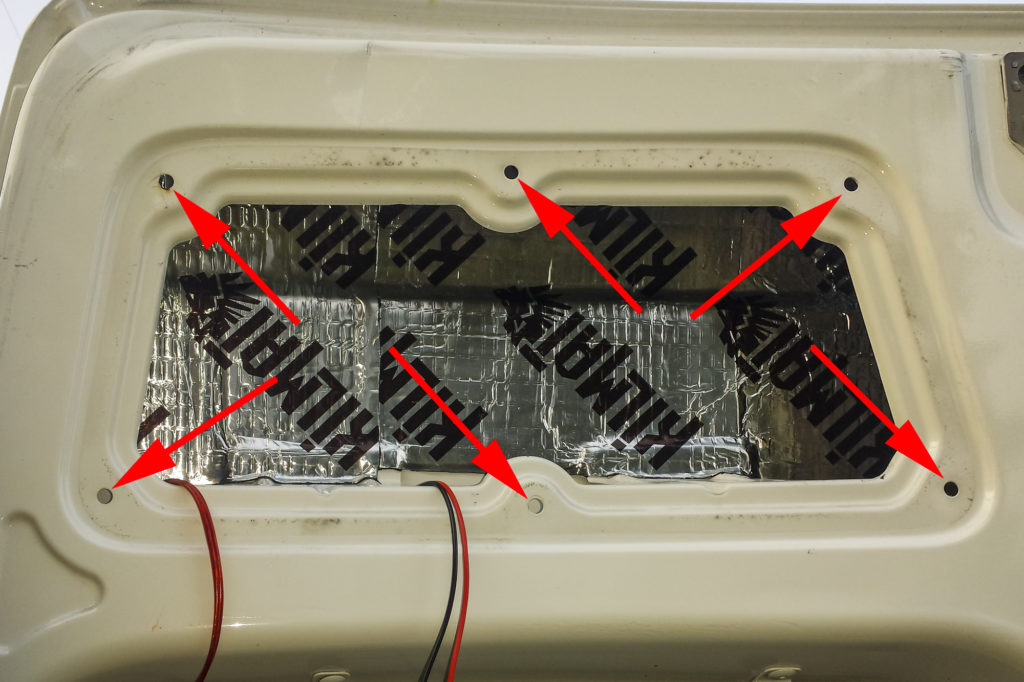
Step 8
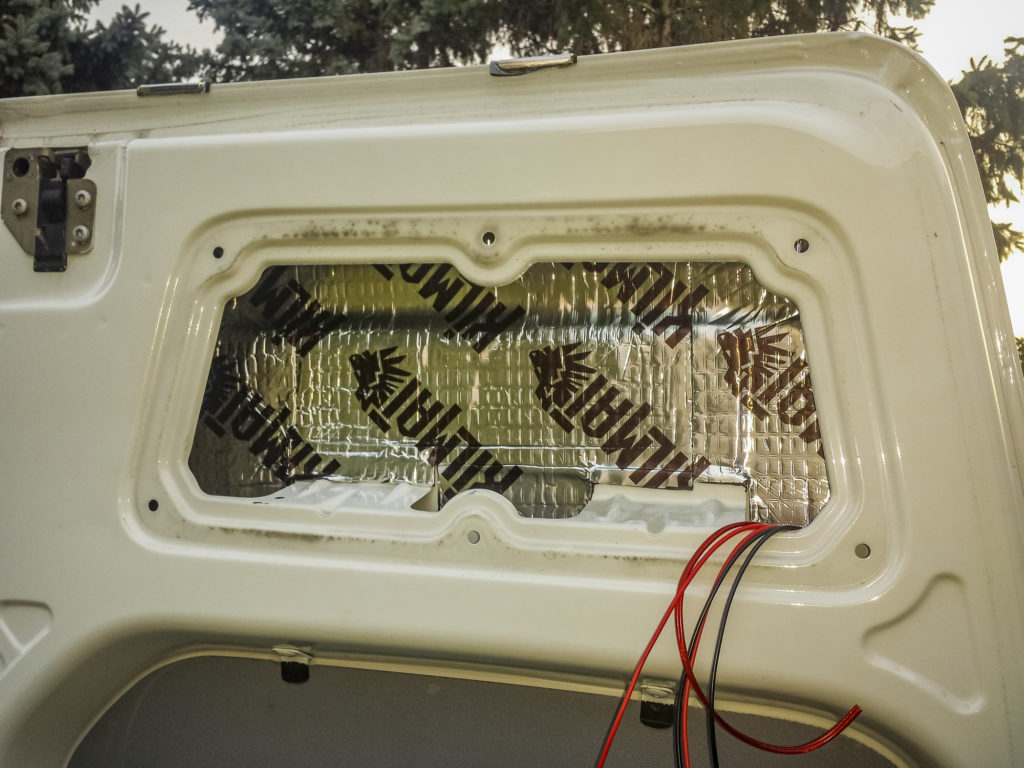
Install your speakers and lighting to the newly completed panels, and prep all wiring with terminals and quick connectors.
This is also a great time to add sound deadening material and insulation to the door. This will decrease rattle and vibration from the new speakers, and better insulate your van from the elements.
Step 9
Attach your sound and electrical connections to the receiver, distribution block, and newly completed panels, and fit your completed panels into place using the nylon rivets through the existing mounting holes on the door.